My deepest gratitude to good friend and very talented designer Willie Zuniga who submitted this lesson on how to make a brooch pin. She is kind enough to share some of her techniques with you so that you can use that knowledge to make designs of your own.
This copyrighted design is intended for learning purposes only and should not be copied for resale, either whole or in part.
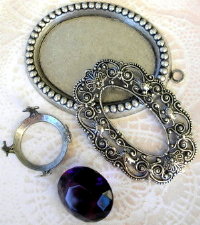
Start with setting #L52. Using small wire cutters nip off the loop.

Remember, the technique is what you are learning, so be sure to look at all the other pieces on the site which can be used in the same way.

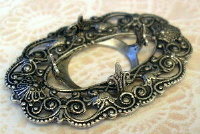
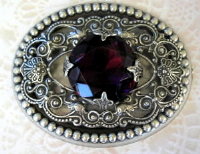
Push the two opposing prongs of setting #S193 through the openings in filigree #D51. Set an 18mm stone into the setting and push the prongs down.

Glue the edges of the filigree to the edges of the setting.
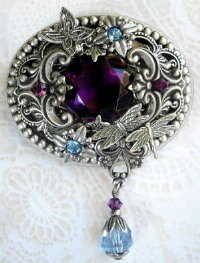
For the fun part, she embellished it by adding whatever she thought might be pretty. Some of those items include #M60, #A657, #A750, #A423, #A521 and #M40. Lastly she added one of the pin backs with a bail so that it could be worn on a chain or ribbon as a pendant. Since the filigree keeps the stone slightly suspended, the light reflects off the bottom of the setting so that it creates a bit of a mirror effect. Very beautiful!
Susan adds this note: It is a bit tricky to get those pin backs attached well with glue. You must be sure to go back the next day to check the bond. I always added another tiny filigree over the base part where I had glued it to a setting to reinforce that spot. I used flat filigrees on the back of almost all my pieces to make them look more finished but also because it reinforced any connections on the back of the item. There were many sales made after a woman picked up a piece and said “Ooooh the back is as pretty as the front!”.
Visit our store web site VintageJewelrySupplies.com to shop for these and thousands more items.
(NOTE: our website best viewed on desktop or tablet)